Quick Panel Guide
AiDataTaskRunner is a tool (panel) that allows you to generate and train ML models for trading bots. This guide walks you through the entire process — from data generation to model training.
Requirements
- Have the latest functional release of the repo installed.
- A compatible bot — in this guide we'll use EasySbAi: https://forge.mql5.io/nique_372/EasySbAi
- A main working folder named EasySbAI (the folder name depends on how you named the bot in EasySbAi). Inside, files must follow this structure:
EasySbAi/
├── XAUUSD/
│   ├── M1/
│   │   ├── config_a.set
│   │   └── config_b.set
│   └── H4/
│       └── config_c.set
└── GBPUSD/
    └── D1/
        └── config_d.set
        .
        .
        .
        (other .set files can go here)
At this point, you should already have optimized .set files for specific timeframes and symbols.
Pre-step (Optional)
This step only applies if you are using calendar features. If so, run the script:
Generador Archivos CSV Calendario.ex5
Starting State
After running a few optimizations and creating the working folder (main folder), the initial structure looks like this:
EasySbAi/
└── XAUUSD/
    └── M5/
        ├── bueno.set
        ├── decente.set
        ├── conservador.set
        └── label.set
Step-by-Step
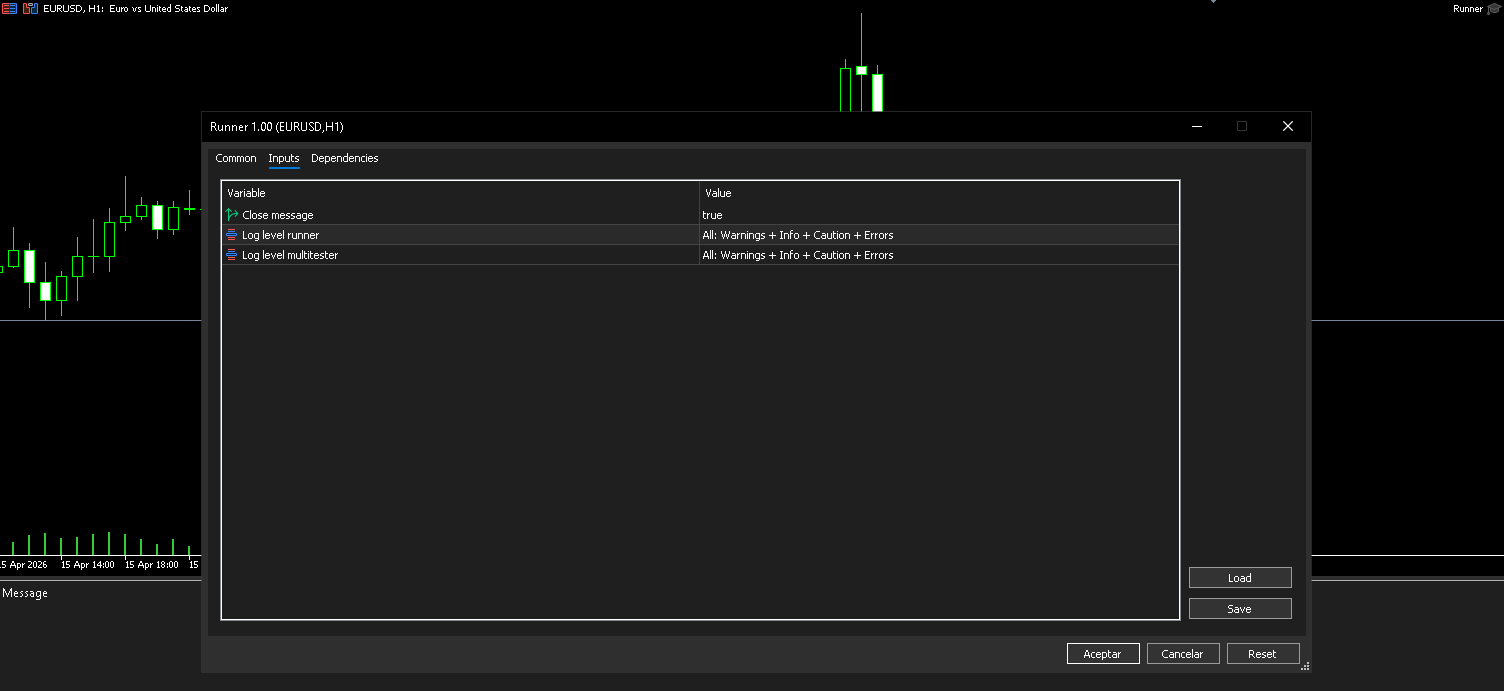
1. Run the Runner
Execute Runner.ex5 on any chart.
2. Run the Panel
Launch the panel, fill in all parameters with the correct paths, and execute it.
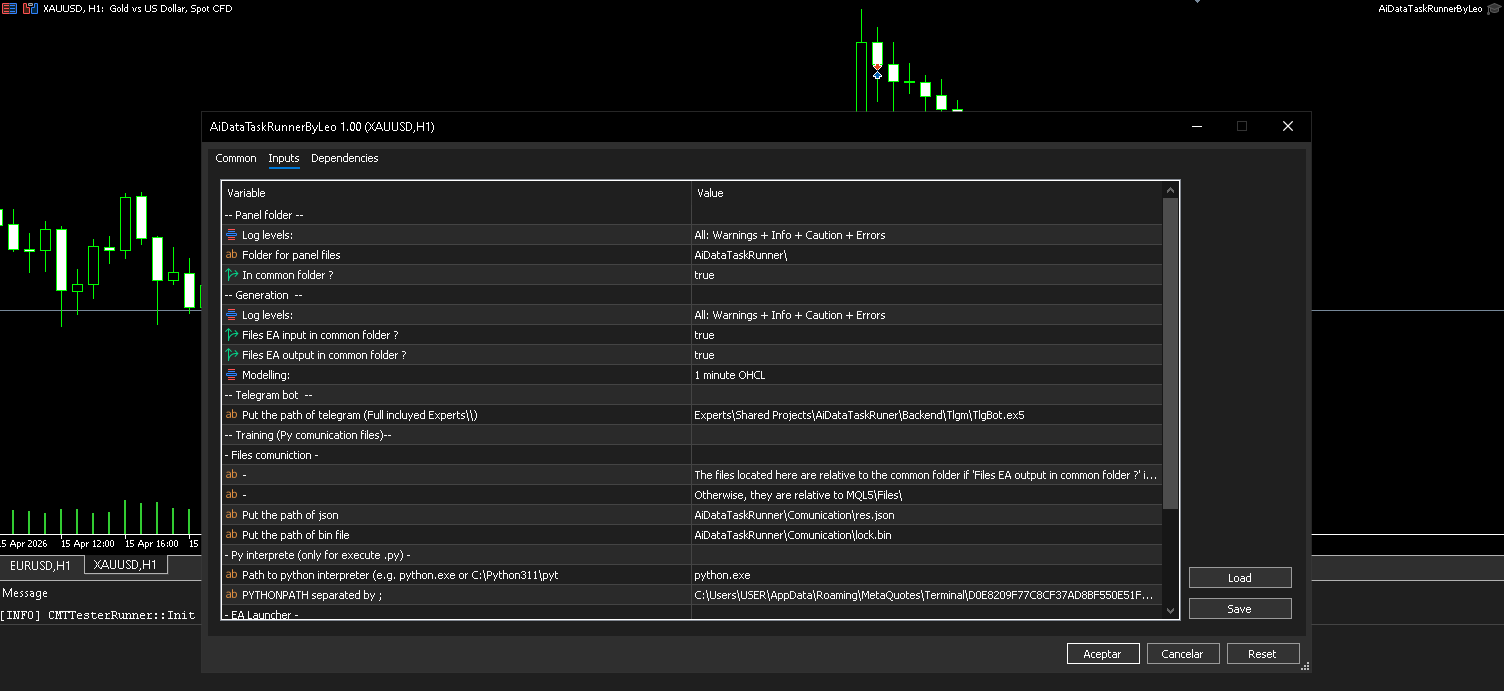
Note: If you installed the panel via a release, you may have placed it under
Experts\or a subfolder. In that case, you will need to update the EA parameters, since the defaults point to the project's own directory paths.
3. Configure the YAML Workflow
Go to the "Workflows" section (or "Flujos de trabajo" in Spanish). Click the ? icon and confirm by clicking Accept.
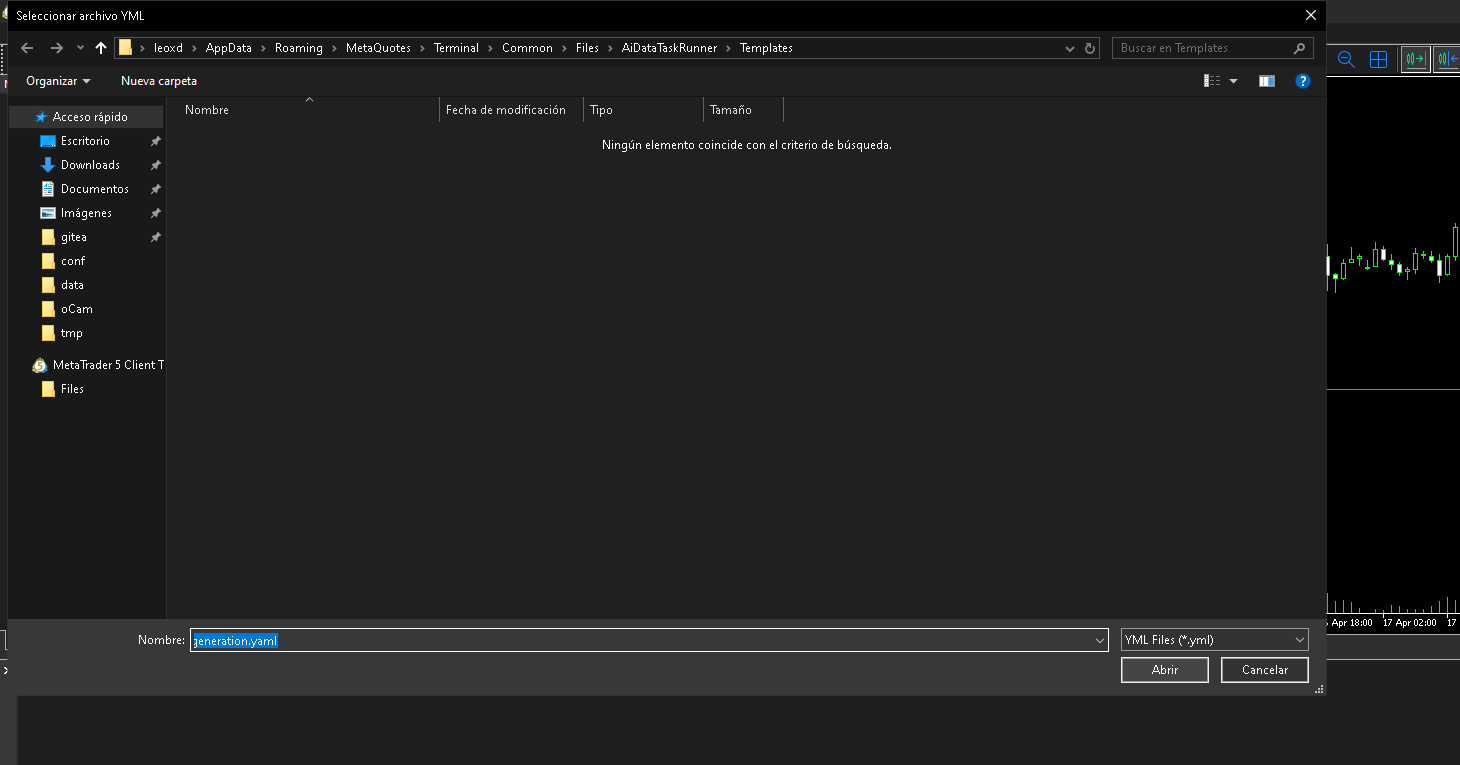
The YAML file will be loaded into the panel. Click Open — this will launch your default application for .yaml files. If you don't have one, you can install VS Code with a YAML extension (recommended), or use Notepad for a quicker start.
The loaded YAML content matches this template: https://forge.mql5.io/nique_372/AiDataTaskRuner/src/branch/main/FilesInstaler/res/templates/basic_data_generation.yaml
If you are using a different bot, update the main folder and the bot paths accordingly. If you are using EasySbAI, no changes are needed.
4. Execute the YAML Workflow
Close VS Code (or your editor), return to the panel, and click the button below the "Workflow" label.
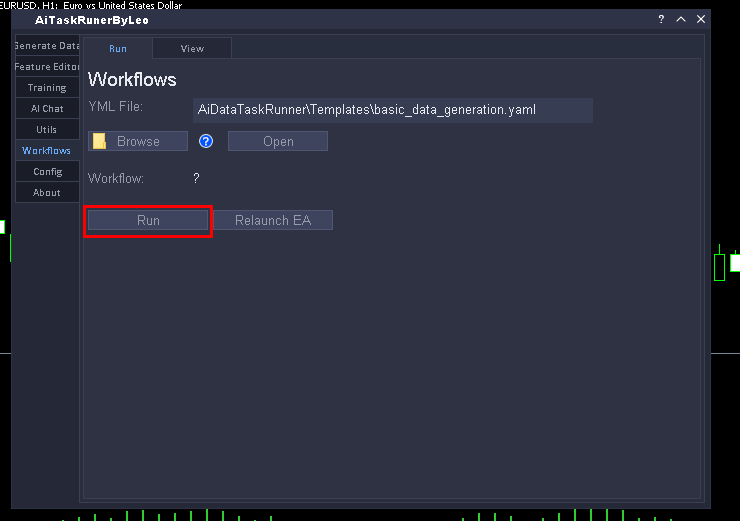
Once execution finishes, an alert will appear (behavior depends on your YAML configuration). This means the workflow has completed. You can then go to the "View" tab to check execution times and any error codes from failed passes.
5. Prepare the Features for Training
This step depends on how your features were defined during data generation — either embedded in the EA or passed as parameters.
For EasySbAi, features are embedded and generic. Copy the features file from: https://forge.mql5.io/nique_372/EasySbAi/raw/branch/main/Resrc/features.fgblc
At this point in the tutorial, the folder structure should look like this:
EasySbAi/
└── XAUUSD/
    └── M5/       # All subfolders were created by the panel; each contains CSV files,
                  # scaler data from the data generation step, and the corresponding .set file
        ├── bueno_0/
        ├── conservador_0/
        ├── decente_0/
        ├── label_0/
        ├── bueno.set
        ├── decente.set
        ├── conservador.set
        └── label.set

    └── Features/
        └── features_model.fgblc   # Place it here, at the same level as the timeframe folders,
                                   # and rename it according to what is specified in the JSON config.

└── Config/
    └── move_files.json            # Temporary file generated by the workflow,
                                   # used to tell the panel which files to move.
6. Select the Training Config JSON
Navigate to the Training Models section.
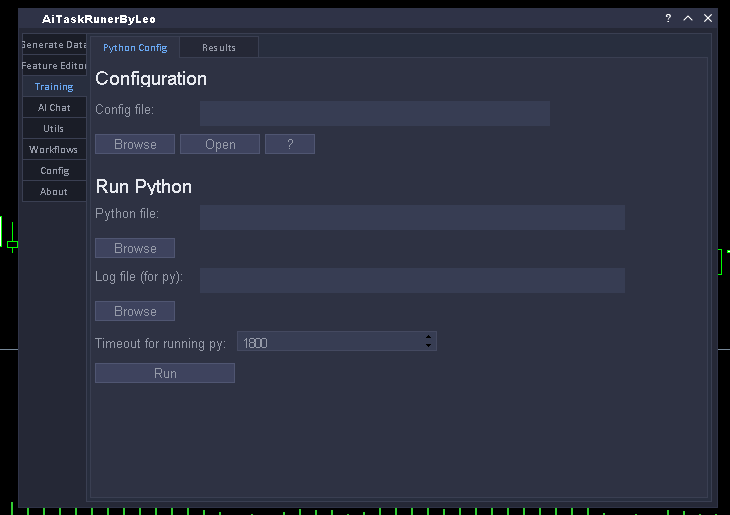
Select the JSON configuration file using the first label field. To make this easier, click ? — the file picker will open with the file already pre-selected. Click Open and you'll see something like this:
{
    "general": {
        "_coment" : "Path a la carpeta base de datos donde se ubican otros folders de trabajo",
        "data_path": "C:\\Users\\USER\\AppData\\Roaming\\MetaQuotes\\Terminal\\Common\\Files",
        "coment_prev" : "Ruta relativa a data_path, donde se ubica el folder symbol",
       "path_project": "EasySbAi\\XAUUSD",
        "_coment_1" : "Sera necesario especificar que archivo features usas para cada tipo de modelo ML estos archovs son rutas relativas a: ",
        "_coment_2" : "1. Symbol folder  | 2. Timeframe folder | 3. label_labelid folder... internamente se usa un sistema de cascada y sobreescritura del archivo",
        "_coment_3" : "El archivo debe de estar en formato .csv, si tiene el archivo .fgblc use el editor (integrao en el panel) para cargarlo y luego compilarlo a csv",
        "_coment_4" : "En caso el .fgblc este embebido en el ea recomiendo sacar ese archivo en un archivo .fgblc y ubiquelo en FeatureEditor\\My\\",
        "_coment_5" : "(path relativo al folder del panel), ahora renombrelo (en base a los nombres los csv) y luego cargarlo en el editor y posteriomente compilarlo",
        "features_pred_file": "Features\\features_model.csv",
        "features_tp_file": "Features\\features_model.csv",
        "features_sl_file": "Features\\features_model.csv",
        "file_name_idx" : "idx.txt",
        "file_name_features_ptr" : "features_ptr.txt"
    },
    "clasificacion": {
        "target_col": " salida",
        "model_name": "ModelPred",
        "num_features": 25,
        "validation_split": 0.2,
        "n_trials": 75,
        "k_folds": 5,
        "random_seed": 42,
        "hilos": 2,
        "jobs_optuna": 12,
        "final_hilos": 20,
        "data_csv_file" : "data_pred.csv"
    },
    "regresion": {
        "target_col": " salida",
        "model_name_tp": "ModelTP",
        "model_name_sl": "ModelSL",
        "num_features": 25,
        "validation_split": 0.2,
        "n_trials": 75,
        "k_folds": 5,
        "random_seed": 42,
        "hilos": 2,
        "jobs_optuna": 12,
        "final_hilos": 20,
        "_coment" : "Aqui se ubican los archivos de salida para tpy sl, el nombre de estos su ubicacion es relativa a MainFolder en este caso EasySb",
        "data_csv_file_tp": "data_tp.csv",
        "data_csv_file_sl" : "data_sl.csv"
    }
}
Two things need to be updated to get started. First, set general::path to point to your symbol folder:
"data_path": "C:\\Users\\USER\\AppData\\Roaming\\MetaQuotes\\Terminal\\Common\\Files",
"path_project": "EasySbAi\\XAUUSD"
You can also adjust training parameters such as n_trials for Optuna (in this example it's lowered to 40). Pay attention to data_csv_* fields — if your data file names differ from the defaults, update them accordingly. Otherwise, no further changes are needed.
7. Train the Model
Select the Python executable (or .exe) to use for training. In the releases, a pre-built .exe is provided — in this example it's located in the Common folder. Click Browse, navigate to Common, and select it:
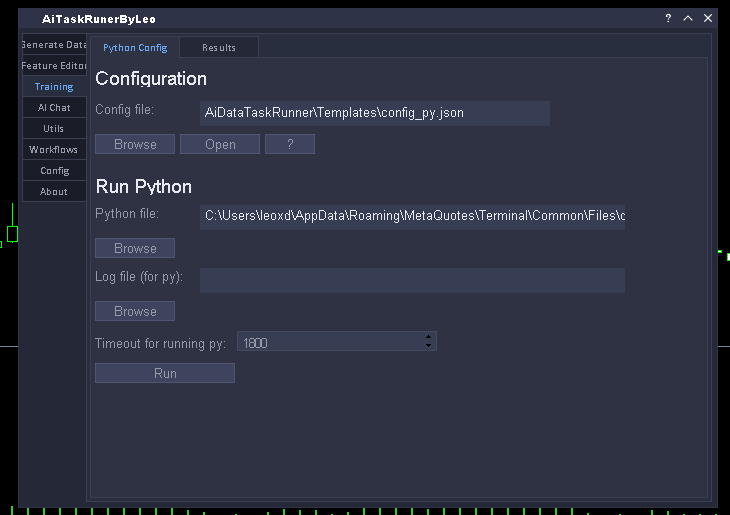
Next, optionally select a log file where Python will write its output. This step is optional — the file does not need to exist beforehand, but it must have a .log extension.
Finally, click Run to start the training process and wait for it to complete.
8. Run the EA
Once training is finished, your models are ready. You can now go back to your EA and start testing them.